Napkin allows you to create and edit application content, associated with a specific NAP project. NAP's main storage format is JSON, which we consider to be quite a readable format. But as projects get larger, it helps to have a more ergonomical view on the data you are creating. Napkin helps you do that. Fire up the editor, launch your NAP application and edit your file to see the changes you make reflected in real time. Files work cross platform and can be shared between Windows and Linux.
The following jargon will be used in this document:
File > New A menu item called New in the menu File in the menu bar at the top of the window or your screenLMB Click left mouse buttonRMB Click right mouse buttonCTRL + X Press the X key while holding CTRL (on Windows) or CMD (the curly symbol on Mac)After downloading and extracting the NAP package, you can find Napkin inside the tools/napkin directory. When building Napkin from source it will be placed in the binary output directory, inside a folder called napkin. Napkin is also included with packaged projects. This allows others to edit application content after compilation.
See Project Management for further details, including how to disable including Napkin in packaged projects.
Content and configuration settings are stored in .json files. Both can be created and edited using Napkin. The app and Napkin share the same code base. If you adjust and recompile a Resource or Component, Napkin will reflect those changes in the editor.
To open a project:
Project > Open Project... or CTRP + PUse the file browser to select the project you want to load. The project is a .json file with the name: app.json. The app.json file points to a Data and ServiceConfig file. Both documents can be edited by napkin. The Data file contains application content, the ServiceConfig file contains application configuration settings.
Before Napkin can load the Data file it will attempt to load all the RequiredModules. Every module has it's own set of dependencies, which will be resolved as well. If loading succeeds, Napkin can safely create and edit files because it can access all the resources exposed by the modules. You can safely launch multiple instances of Napkin to work on multiple projects at once.
To make a new data file:
File > New or CTRL + N creates an empty document.To open a different data file:
File > Open... or CTRL + O To save the data file:
File > Save or CTRL + S To save the data file under a different name:
File > Save as...To reload the data file:
File > ReloadTo set the data file as project default:
File > Set as project defaultTo make a new config file:
Configuration > New creates an empty document.To open a different config file:
Configuration > Open...To save the config file:
Configuration > SaveTo save the config file under a different name:
Configuration > Save as...To set the config file as project default:
Configuration > Set as project defaultEvery document contains Resources and Entities.
A resource is a stand alone building block that is always created and initialized on startup of your application. An entity is a special type of resource, which isn't created by default. Only entities that are part of your Scene are instantiated. You can add the same entity to the same scene multiple times, each with different settings.
RMB on Resources and choose Create Resource....LMB on the newly created resource to change it's name.RMB on Resources and choose Create Group....LMB on the newly created group to change it's name.RMB on the group to add new or existing resources.RMB on the group and select Create Group to create a sub group.RMB on Entities and choose Create Entity.LMB on the newly created entity to change it's name.RMB and choosing Delete.RMB on your entity and choose Add Component. RMB on a scene and choose Add Entity....RMB on an entity and select Delete Instance.RMB on the propery to clear.Remove overrideNapkin consists of several dockable panels that you can arrange yourself.
All panels showing lists of items that can be filtered by name, type or value from the textinput at the top.
Shows all the resources and entities that are part of your application. Select a resource or component of an entity to edit their default properties. Every resource (under the Resources item) is created when the document is loaded. Entities (under the Entities item) are not created by default. Only entities that have been added to the scene will be instantiated.
Shows the entities that will be instantiated when the document is loaded. You can add the same entity to the same scene multiple times and override properties on a per instance basis. Components that are marked with a different color have property overrides applied to them.
Note that an empty (new) file does not contain a Scene resource by default, you must explicitly create one. The new scene is available directly after creation.

Shows all the service configurations. You can edit a configuration in the Inspector
Allows you to start / stop the application you are working on.
... button to browse to the executable.
If your application logs object names in the proper format, you can double-click log messages with that link in the log panel and it will highlight the appropriate object/property in the editor.
This panel shows the properties for the currently selected object.
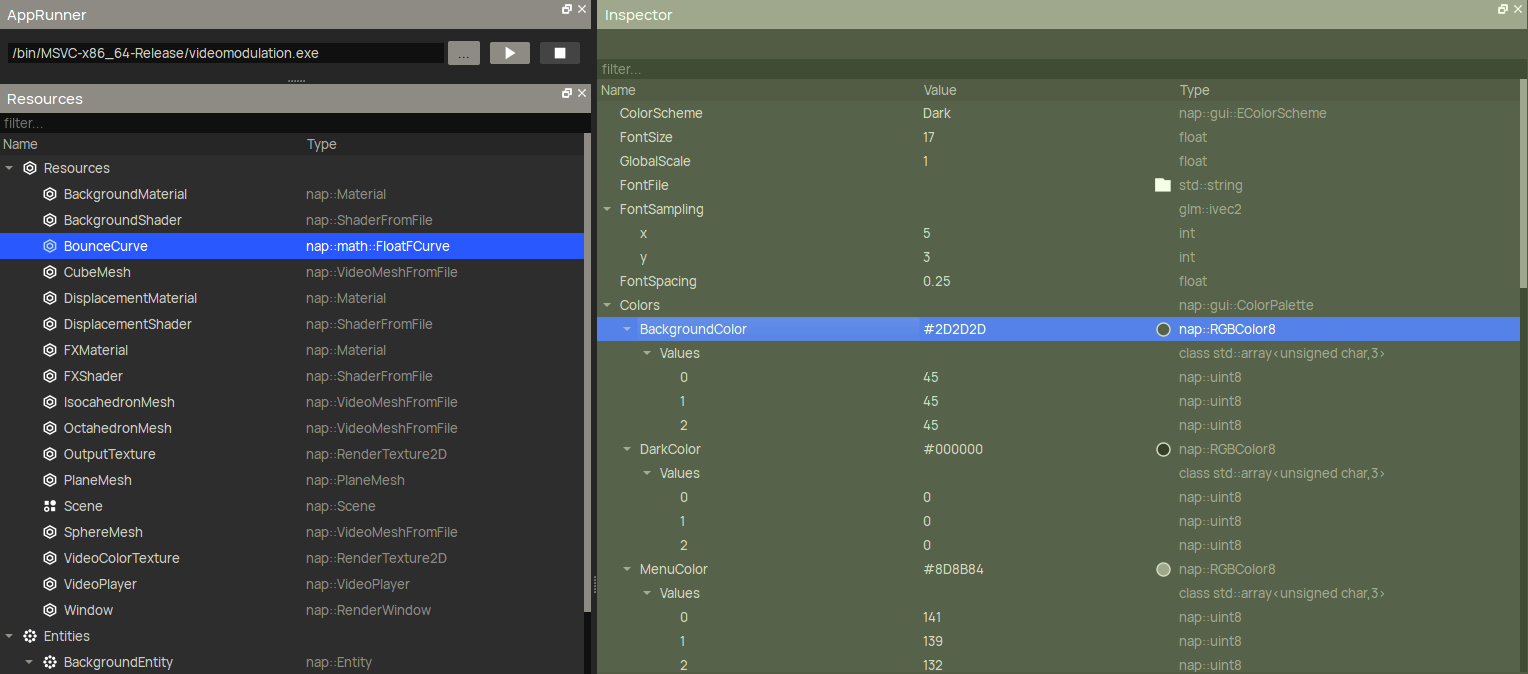
Resources panel you are editing the default (shared) propertiesScene panel you are editing unique instance propertiesConfiguration panel you are editing service configuration propertiesMost properties are changed by typing in a new value in the value column. Some values like Pointers provide a button next to the field that allows you to select the target object. File properties have their own button that shows a file selection dialog in which you can select the file.
Allows you to inspect a mesh in 3D, including all of it's properties such as: light information, triangle count, available vertex attributes, connectivity, topology, bounds etc. Every type of mesh is supported, including triangular and non-triangular meshes like the nap::Circle and nap::Line.
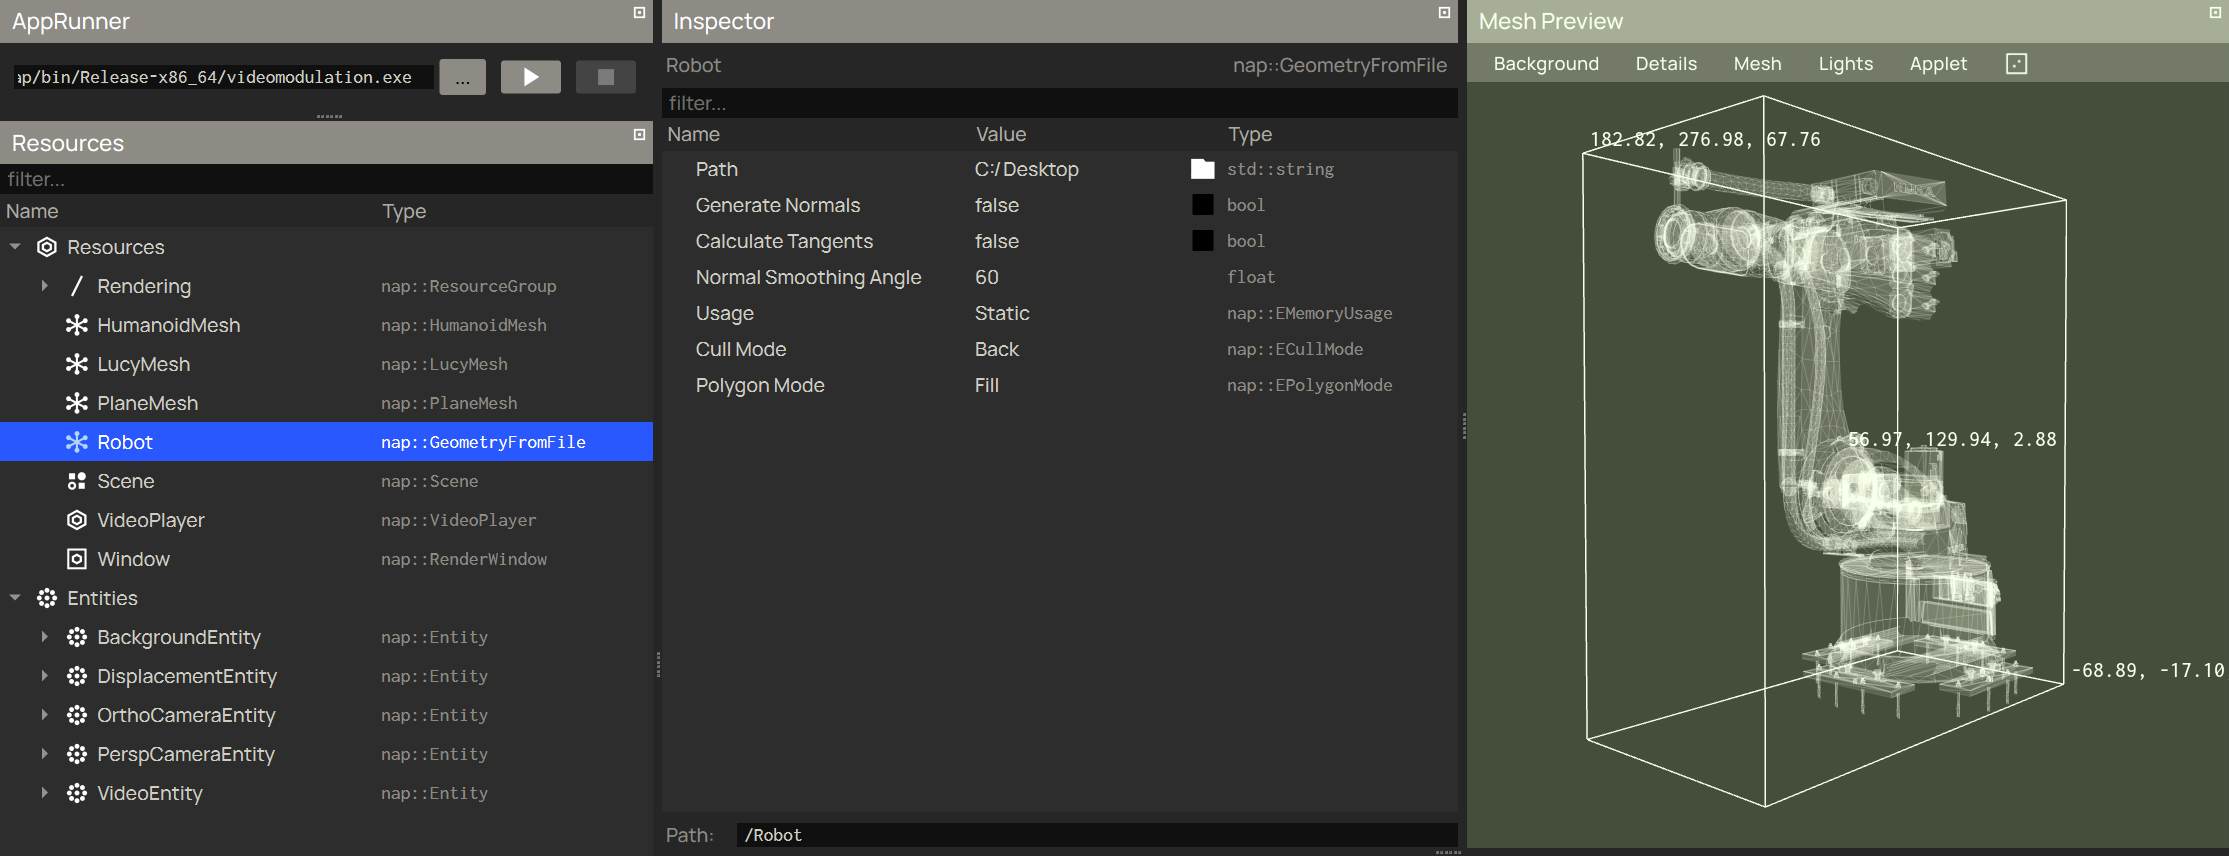
To load a mesh resource:
RMB on the mesh and select Load into Mesh PreviewResources that are a mesh are eligable. Loading happens on a different thread, independent from the editor. If the load operation fails an error is reported in the log panel. Property changes that you make to the loaded mesh are reflected in the mesh preview panel. This allows you to inspect the mesh using different settings, without the need to re-load your application. A quick way to test this is to change the Polygon Mode of a loaded mesh.
NAP ships with many meshes, including primtive 3D shapes such a box, sphere, plane and torus. For testing and / or shading purposes you can use a humanoid, toy, shader ball and lucy mesh. Simple polygon shapes are available in the form of a line, circle, rectangle etc. To load your own mesh, use a geometry from file or mesh from file resource. More about meshes can be found in the render documentation.
Allows you to inspect a 2D texture and cubemap in 2D and 3D, including all of it's properties such as: resolution, channels, bit depth etc. Every type of 2D texture and cubemap is supported, including the nap::ImageFromFile and nap::CubeMapFromFile.
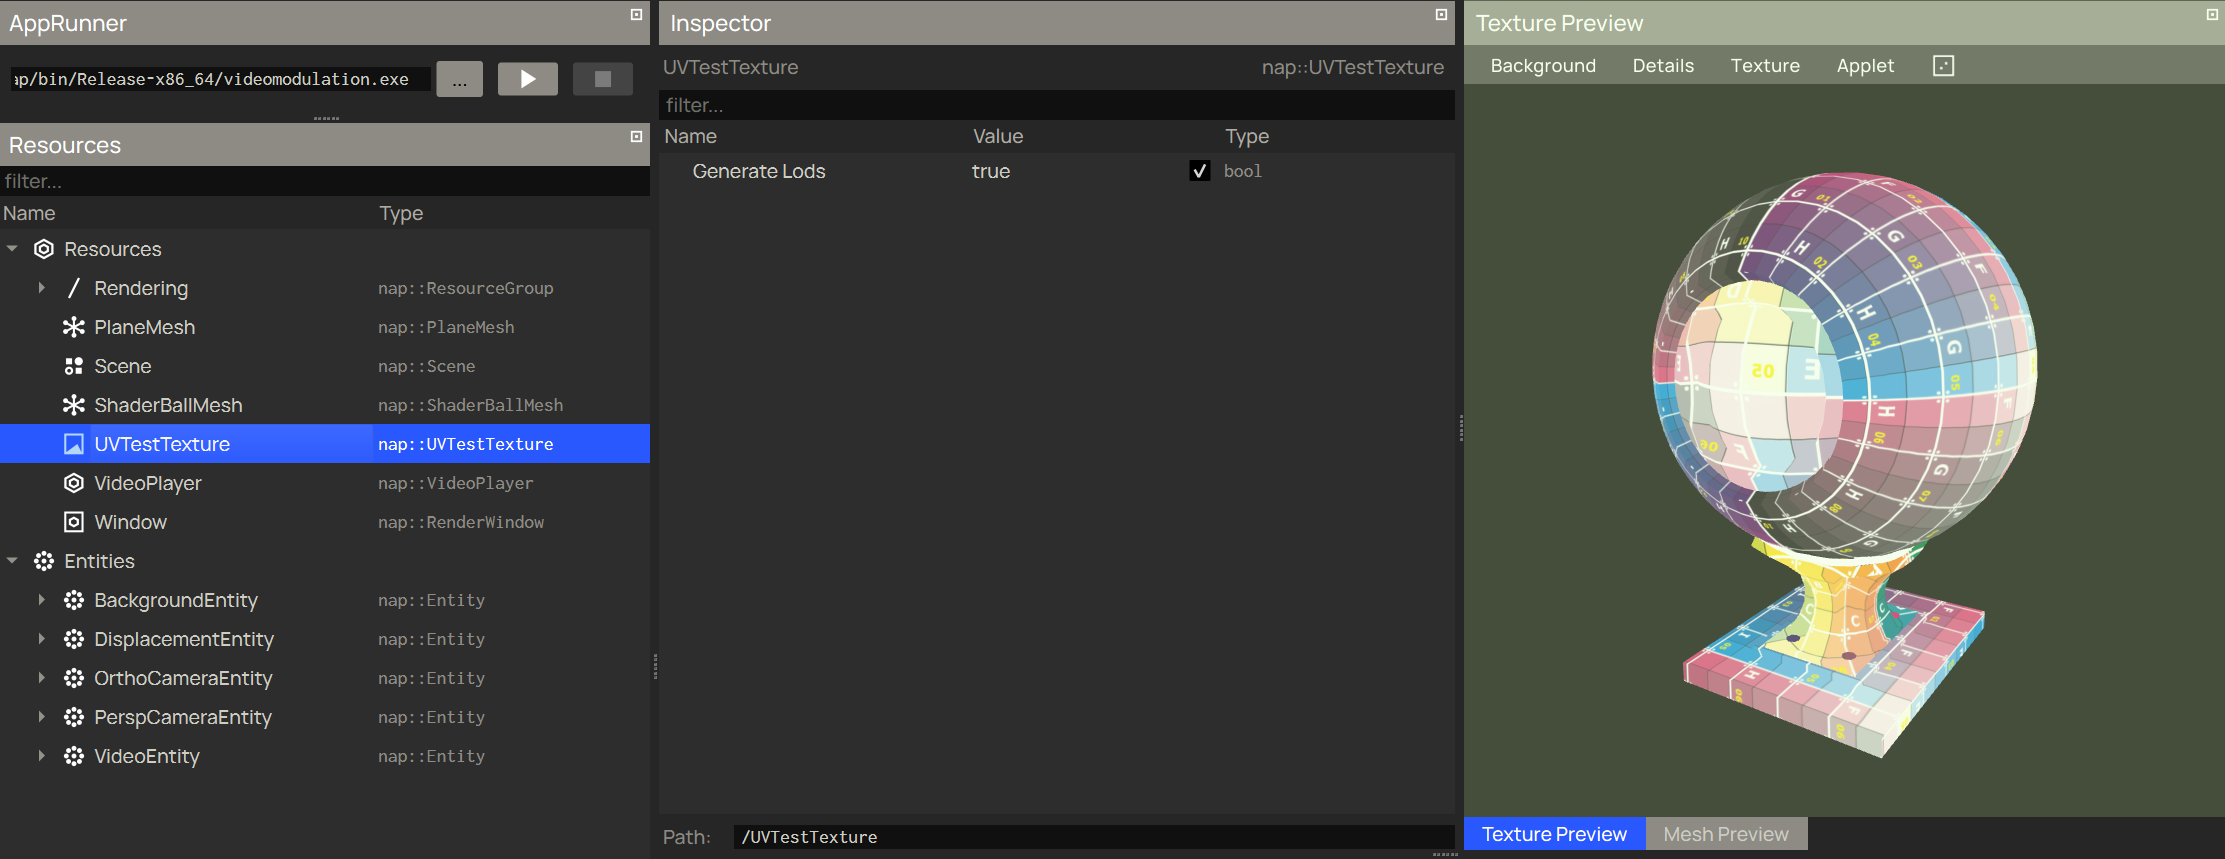
To load a 2D texture resource:
RMB on the texture and select Load into Texture Preview.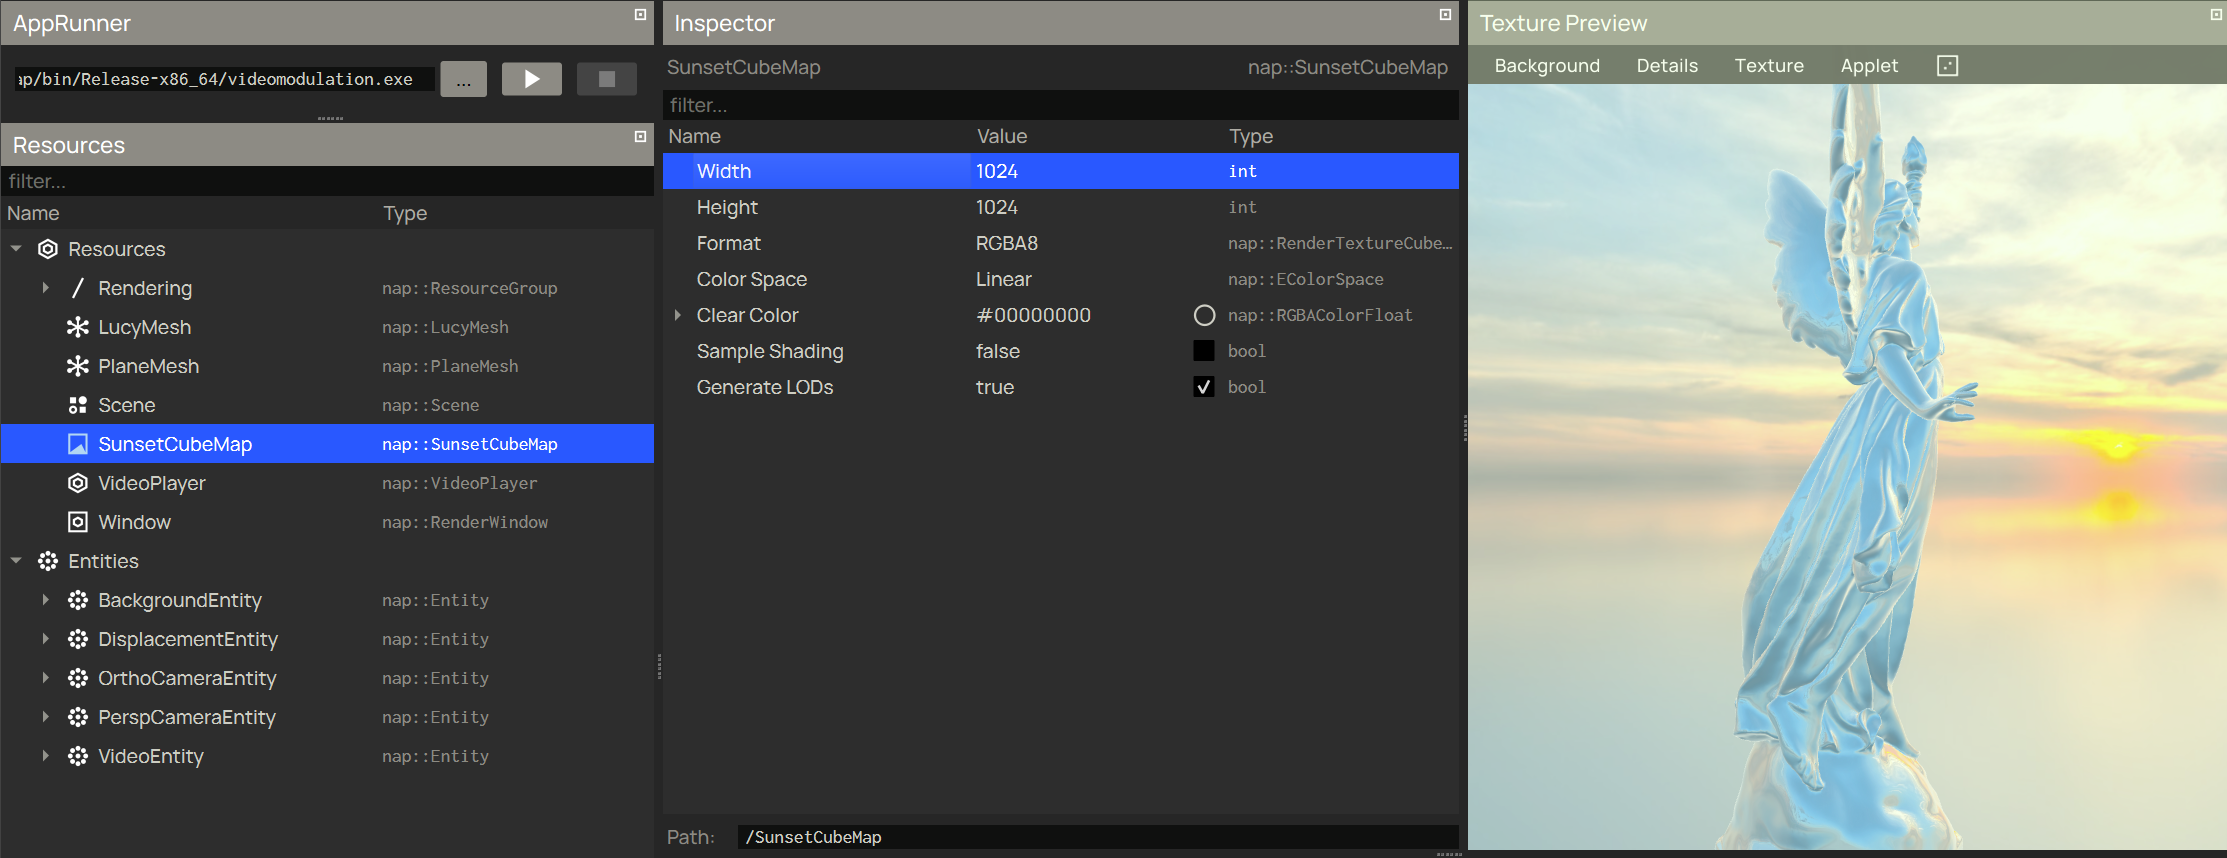
To load a cubemap resource:
RMB on the cubemap and select Load into Texture Preview.Resources that are a 2D texture or cubemap are eligable. Loading happens on a different thread, independent from the editor. If the load operation fails an error is reported in the log panel. Property changes that you make to the loaded texture are reflected in the texture preview panel. This allows you to inspect the texture using different settings, without the need to re-load your application. A quick way to test this is to change the Width and Height of a loaded cubemap.
NAP ships with a couple of 2D textures and cubemaps for testing purposes, including the uv test texture, test cube map and sunset cube map. To load your own texture, use an image from file or cubemap from file resource.
You can bind the loaded texture to a custom mesh, to do so:
RMB on the mesh and select Load into Texture PreviewWhen a texture is loaded, the preview will attempt to load the mesh and apply it. However, the mesh must include a valid uv vertex attribute; otherwise, the texture cannot be applied, the operation will fail, and an error will be logged.
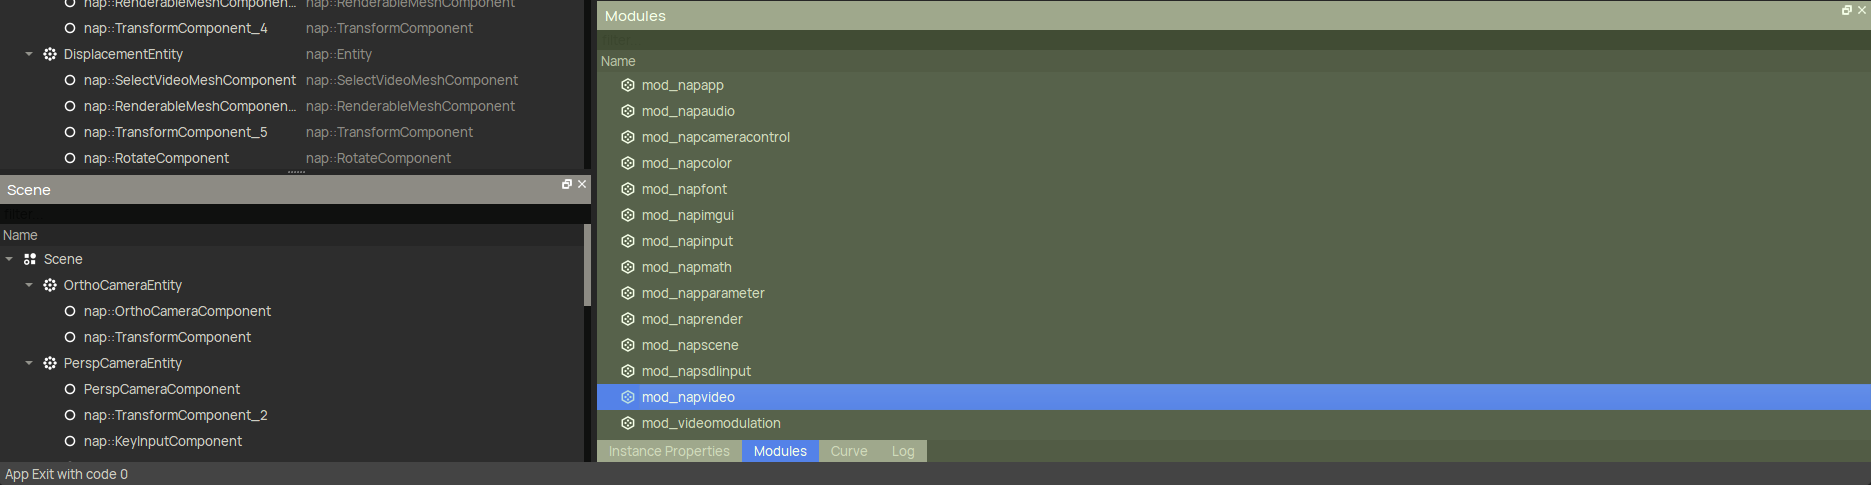
Shows all currently loaded modules by Napkin. The modules expose all available components and resources to Napkin and the running application.
Shows Napkin related messages. If you're running your application from Napkin the output will be shown in this window too.
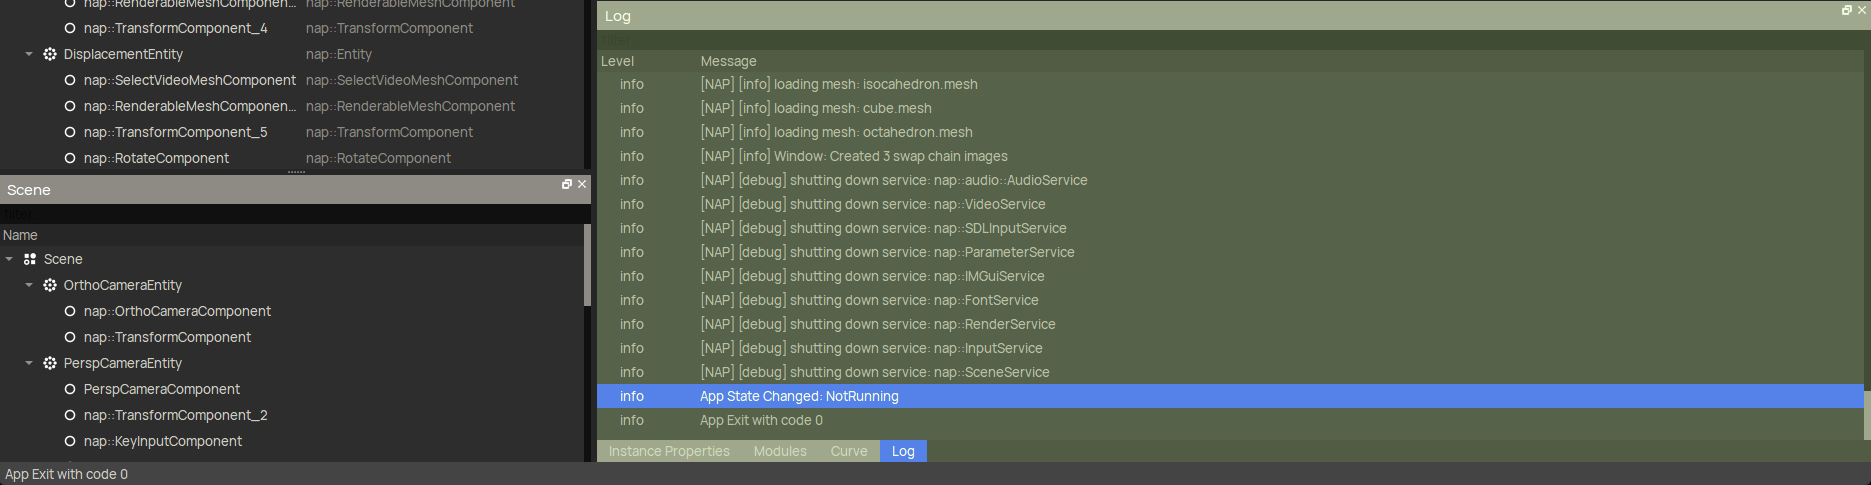
Each message has a Log Level attached that will indicate its severity:
fine and debug messages are usually not that interesting and will not be shown by default, they're mostly for figuring out the more specific details of your application and the editor.info messages communicate a notable state change in the editor or your application.warning indicates you should probably look what is being said.fatal means something is not right and are very useful for discovering why something doesn't work.Use the filter to find specific messages. The dropdown on the top-right of this panel allows you to show or hide messages based on their level, in order of importance. warning is more important than debug. If a message pops up that has been underlined, you can double RMB it to reveal the object or property that message is saying something about.
Shows all component instance property overrides.
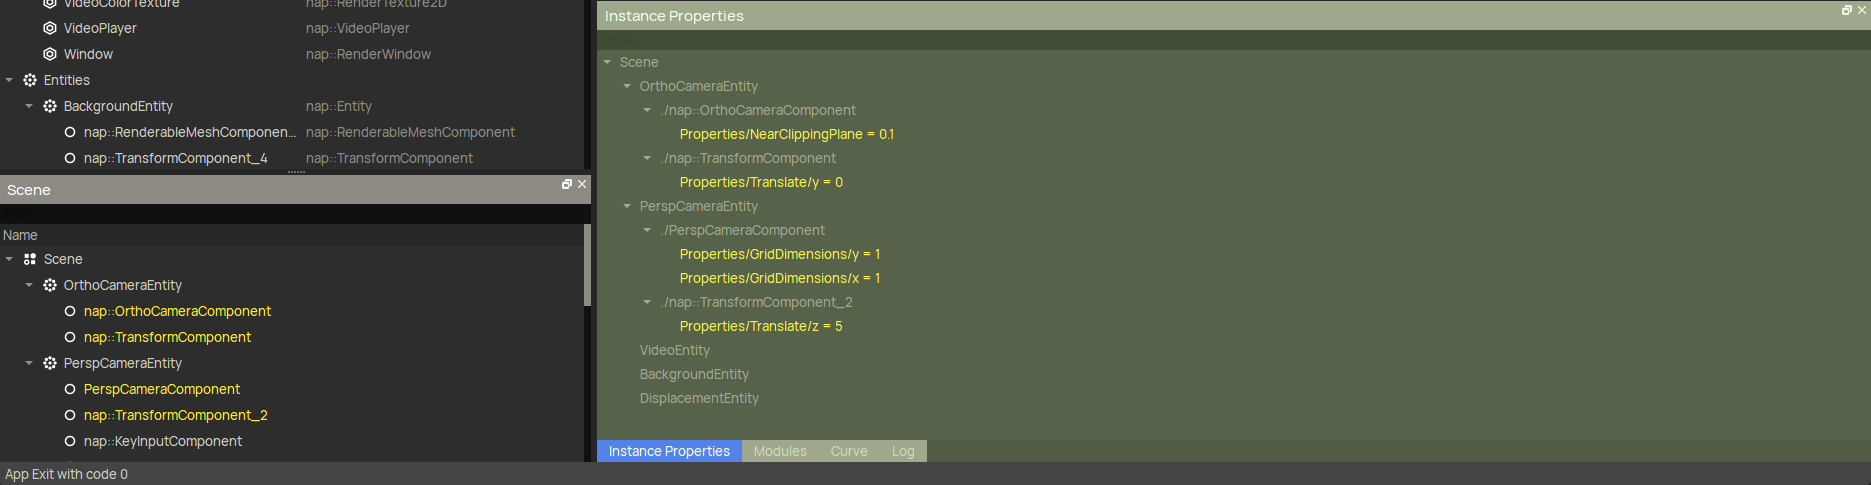
Napkin allows you to edit resource properties and instance properties. Instance properties are unique per instance where resource properties are shared by all instances. Only properties of a component can be overridden per instance because a component is instantiated, together with the entity the component belongs to. Select a resource in the resources panel to edit shared properties. Select a component in the scene panel to edit unique properties.
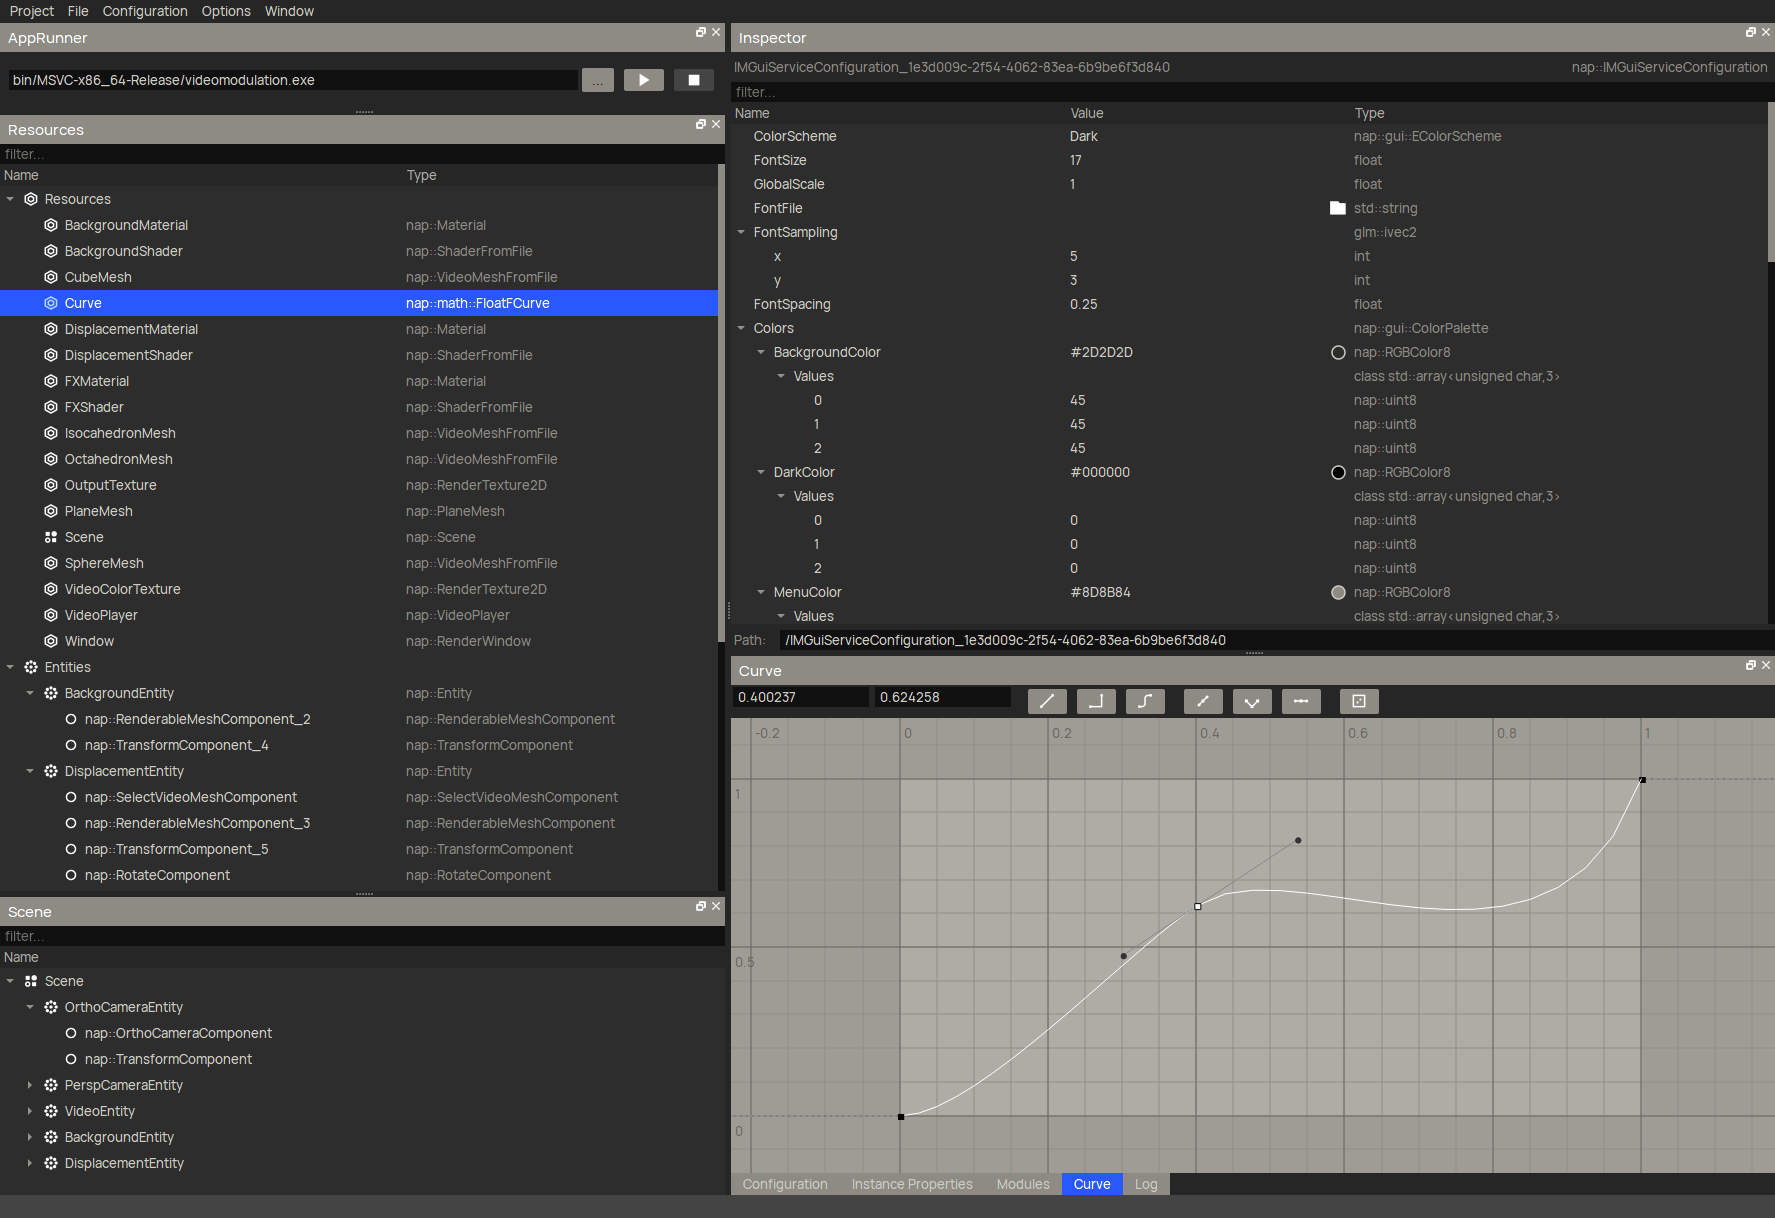
The Curve panel allows for visual editing of a function curve.
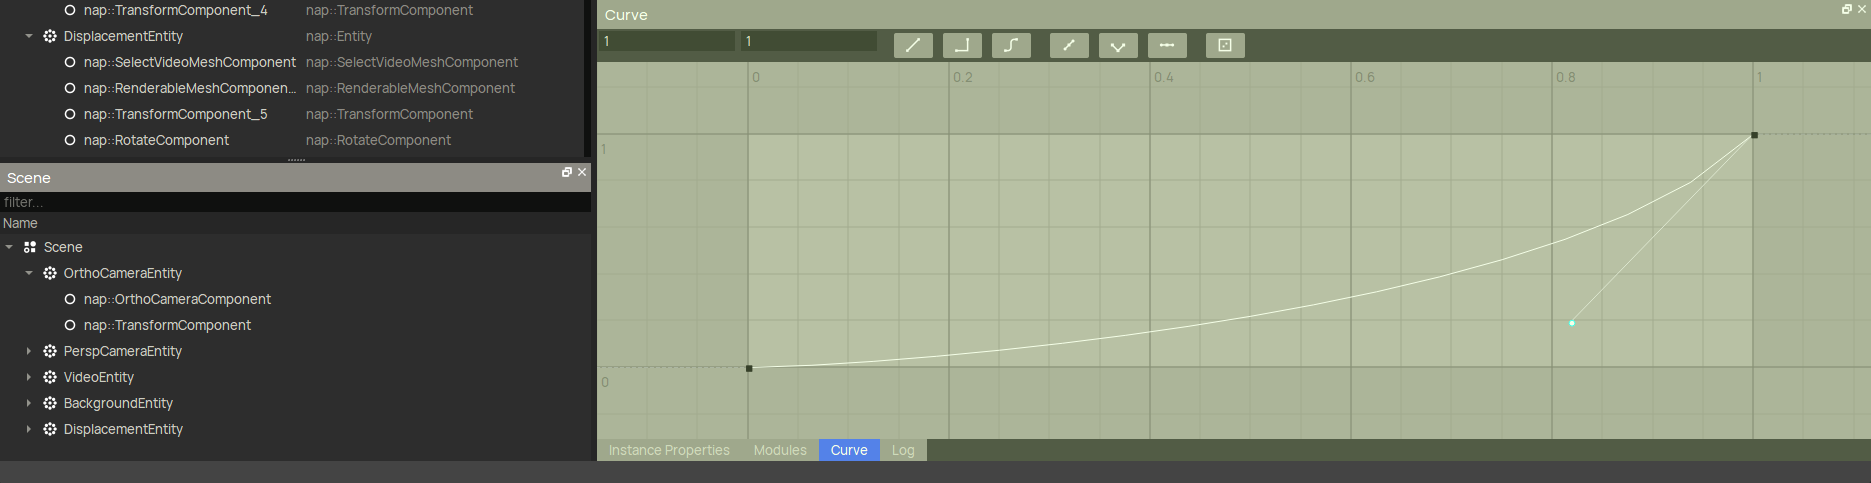
Controls:
LMB on curve points or tangent handles to select themSHIFT + LMB on curve points to add them to the selectionCTRL + LMB add a point on the curve at the clicked locationLMB + drag in the background to rubberband select point handles or tangent handlesALT + MMB pan the viewALT + RMB zoom the view horizontallySHIFT + RMB zoom the view verticallySHIFT + ALT + RMB zoom the view both vertically and horizontallyF to frame the selected handles inside the view (if no handles are selected, frame all)A to frame the entire curve inside the viewRMB in the curve view to change the interpolation of segments.Because of the one-dimensional evaluation nature of function curves, the editor will keep you from creating curves with "overhang" (ie. curves that have multiple solutions). In order to do so, the effective distance of the tangent handles will be limited.